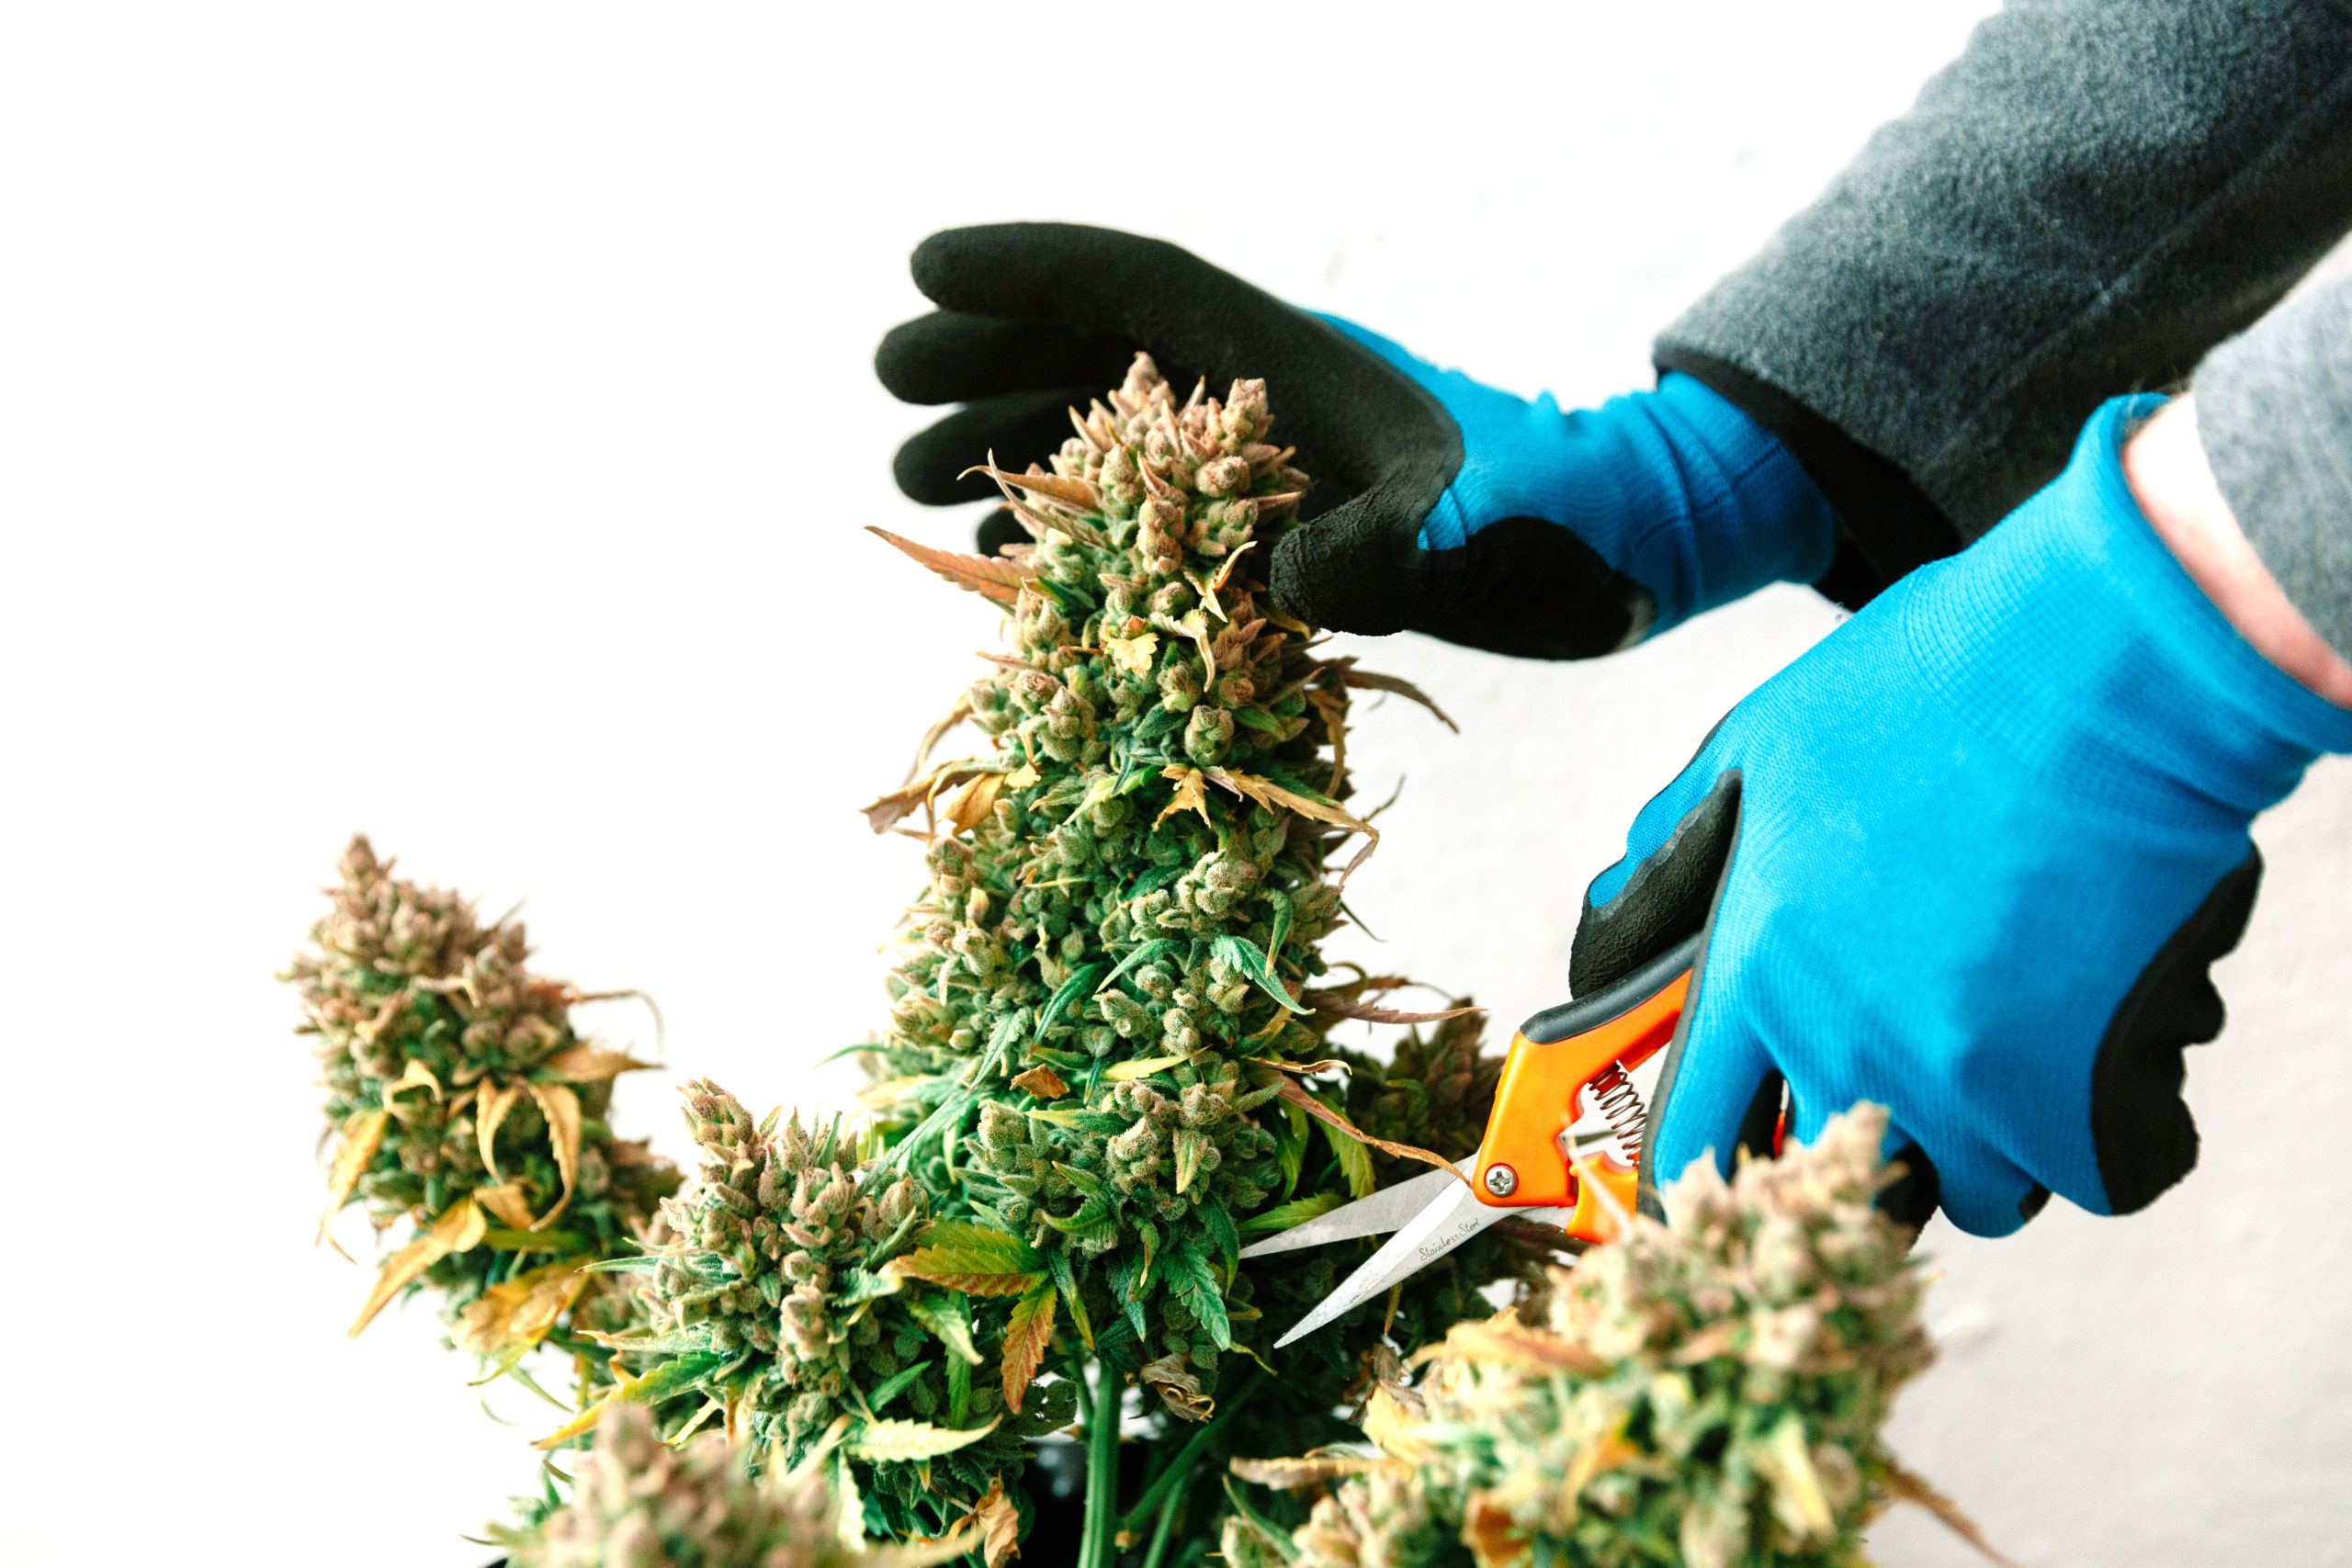
Here we are, months have gone by since you have planted that tiny seedling into the soil. You have watched it grow, and with patience and delicacy, you have dealt with all sorts of issues in order to keep it alive, pests, diseases, deficiencies, environmental challenges, or nosy neighbors but it is now finally time.
Time to collect the fruits of your labor, you have finished your work you think? you are greatly mistaken my fellow stoner!
Most of the work also comes after plucking your beloved plants off the soil and trimming the buds apart from the branches, the harvesting and curing process single-handedly decide whether your weed will be garbage or top-class.
Determining whether your plant is ready for harvest
Let’s start with first explaining exactly how to determine whether your plant is ready for harvest.
You will need:
40-50X microscope

Check the buds one by one with your microscope and look for the little white heads on top of each bud. These should be abundant in numbers and it should be easy for you to determine which ones they are.
If the trichomes have a clear see-through color, then you still need to wait a while to harvest.

If the trichomes show a milky white color, then you can start harvesting, important to keep in mind that this will produce a more energetic and clear-headed effect more associated with the previously known “sativa” term and daytime use. Harvesting at this time is more adapted for strains that have more “energetic” properties.

If the trichomes have begun to turn amber then this means you need to harvest ASAP, it’s important to note that harvesting at this point in time is more adapted to plants which tend to produce a more “mellow effect”. In fact, if you are growing plants that would be classified as “indica” it would be ideal to wait until about 60% of the trichomes have turned amber. Be careful to not be too late as you might risk starting to lose THC potency and the plant starting to turn to CBD.

Actually Harvesting The Plant
It is now time to pluck the plant off the ground, if your plant is more like a tree when it comes to size, start chopping off branch by branch and chop the main branch off too, take care to remove the left over of the main stem once this has been done
Washing Your Buds
If you have grown your plants outdoors it is always a good idea to actually wash your buds before drying. You can do this indoors too but its not as mandatory as it is for outdoor grows.
You can wash your buds by
1) Prepare 2 large containers filled with water,
2)In one of them put a spoon of baking soda and half a cup of lemon juice.
3)Dip your buds into the lemon juice container for a few seconds
4)Dump the buds into the clean water container
5) Hang them for drying
This can also be done with the whole plant if you are going to dry trim
Dry Trimming vs Wet Trimming
There are two main recognized methods of trimming cannabis, dry trimming and wet trimming. Which is better? is really up for you to decide and experiment, but I will walk you through each one so you can be better informed.
Wet Trimming
Wet trimming is quite simple, once the plant is ready for harvest, you simply trim the buds off the leaves and branches and leave them to hang all in one go

Dry Trimming
Dry trimming is the opposite way round, once the plant is harvested, you let it dry for a week and check if the branches start making a snapping sound when bent . If not, let them dry for a little more. Once this has been done you can now start to trim the buds off the branches.
Once the above have been done now would be the best time for curing, you can find an appropriate guide to curing through Our Ultimate Curing Guide.


